I finally reached the point in my vintage gear lifestyle where I needed to replace old Dallas realtime clock chips that have dead batteries. I opted to try to find replacement chips, taking a gamble with “new old stock” units, instead of trying to grind down the side of the chip casing to attach leads (and spray plastic everywhere). From what the datasheets tell me, the Dallas RTCs have some sort of internal shunt that leaves the battery disconnected until the first time VCC is fed voltage, a neat trick. So hypothetically if it’s a NOS unit that’s never been installed, there’s a good chance the battery is good.
I’m aware of the RetroTronics and Necroware replacements, I couldn’t find what I needed at the moment but I ordered some for future projects. In particular for my motherboard repair I was concerned about the height of some of the modern coin-cell replacements that might impede longer ISA cards. There’s no telling how long my NOS replacements will last, so I may be coming back and replacing them all with modern RTC replacements and brand new batteries.
Asus P/I-P55TP4N socket 7 motherboard
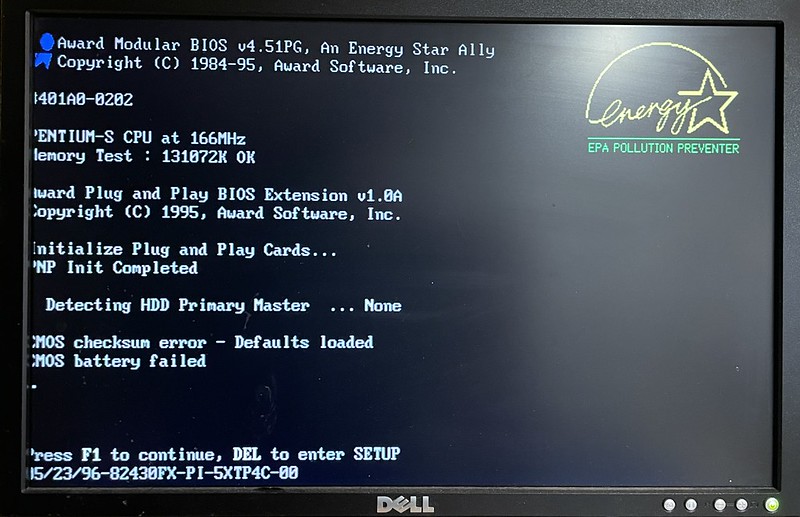
Asus P/I-P55TP4N motherboard – CMOS checksum error
First was my Pentium 166 motherboard for my Novell NetWare server. This had a Dallas DS12B887 that was dead and threw CMOS mismatch errors on boot. For this I found a set of Dallas DS12887+ chips on Amazon, no idea how counterfeit they are (2412D date code?) but at least one seemed to do the trick. Pin 21 was absent on the DS12887+ replacement, this appears to be used for manually clearing the CMOS. I haven’t needed this yet, but I have put a socket on the motherboard so I think if I need to clear CMOS I can just pull the chip (unless it’s using on-chip memory).
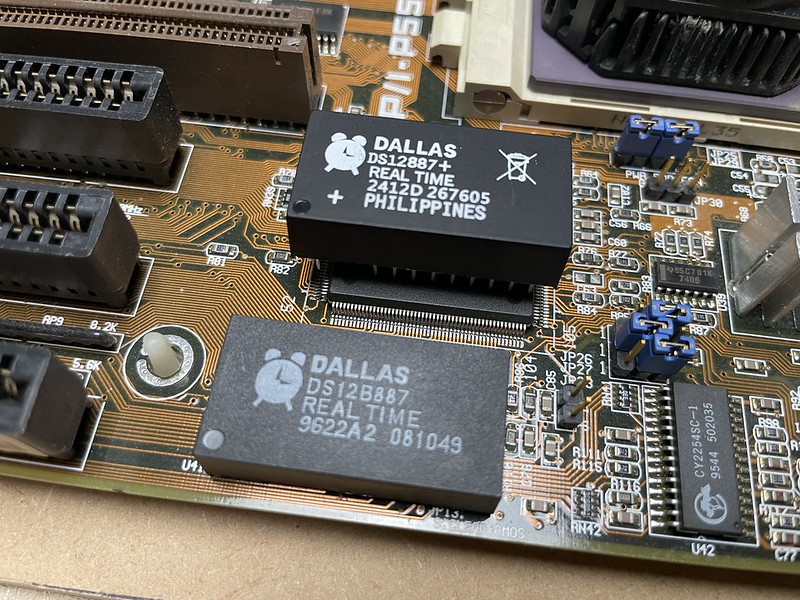
Original DS12B887 and replacement DS12887+
Once I got the DS12B887 off the board I noticed under the chip was writing that indicates either a Dallas DS12887A or a Benchmarq bq3287A could be used in its place.
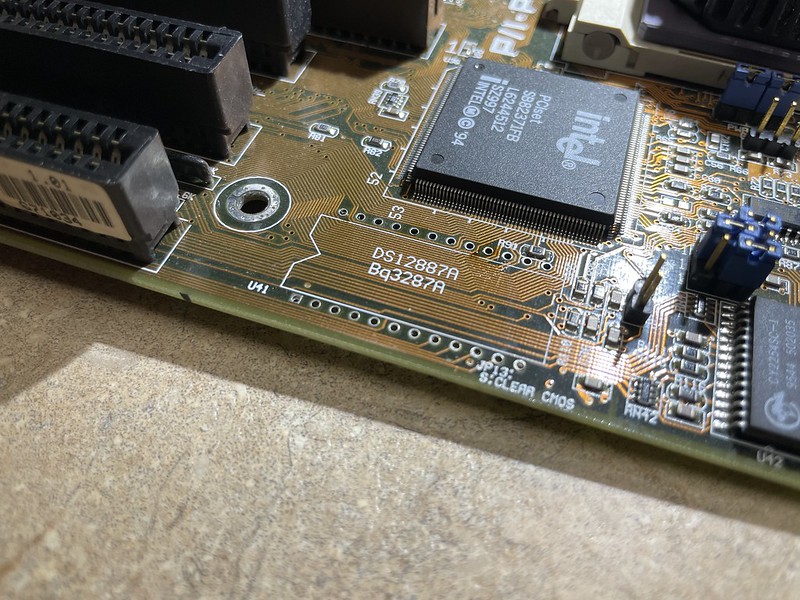
Space for Dallas DS12887A or Benchmarq bq3287A
Along with a 24-pin DIP socket, the new chip went right in and didn’t have any problems booting the system. It sticks up slightly higher than the ISA slot, but not by much.

Socketed replacement Dallas DS12887+
Adtran Atlas 550
Next up was my Adtran Atlas 550. Here the system would just lose its config when the unit was powered off, such a number/trunk/port settings, and IP addresses. A bummer after tediously setting them up. Fortunately the system supports downloading and uploading the system config to a TFTP server, so I was able to save my working configuration before replacing the RTC chip. Main menu -> System Utility -> Config Transfer -> Transfer Method TFTP, IP address, filename -> Save Config Remotely. Similarly on this screen is Load and Use Config to download a config from a TFTP server.
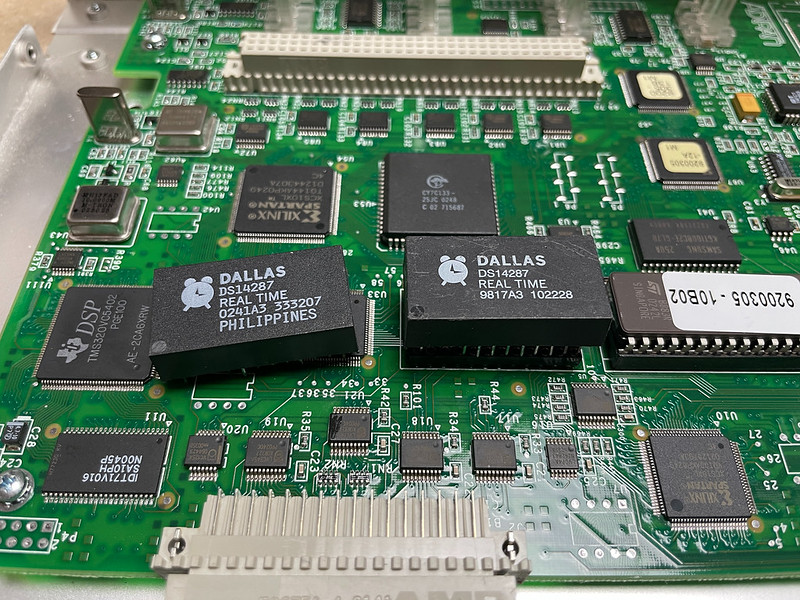
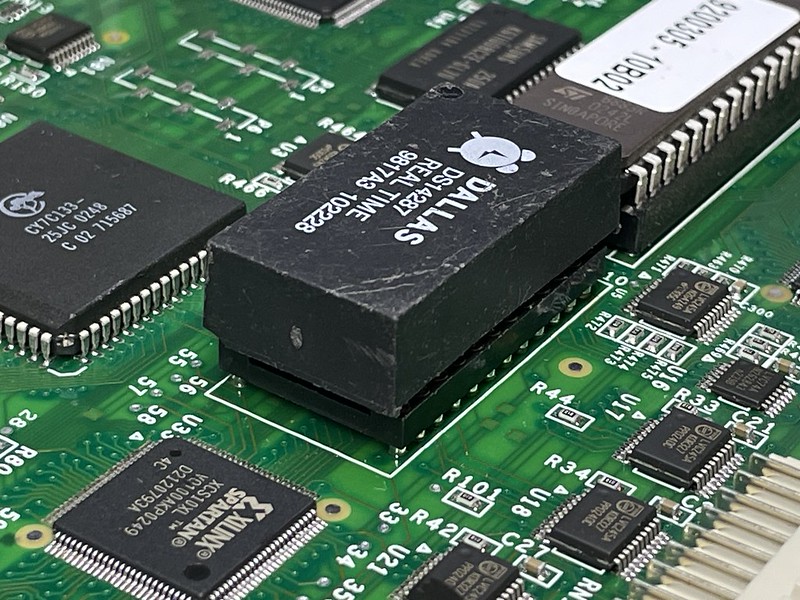
Adtran Atlas 550 with old and new DS14287 RTC
The system uses a Dallas DS14287, which is slightly different than most Dallas RTC replacements out there. I found these DS14287 replacements on eBay and gave them a try.
The Atlas was a little bit of work because the motherboard needs to be taken out of the chassis and there are various clips and plastic light guides in the way. The power supply is also built on the same PCB. Between the RTC and the metal carrier that cards slide into, there’s about a 1/4″ – 3/8″ clearance:
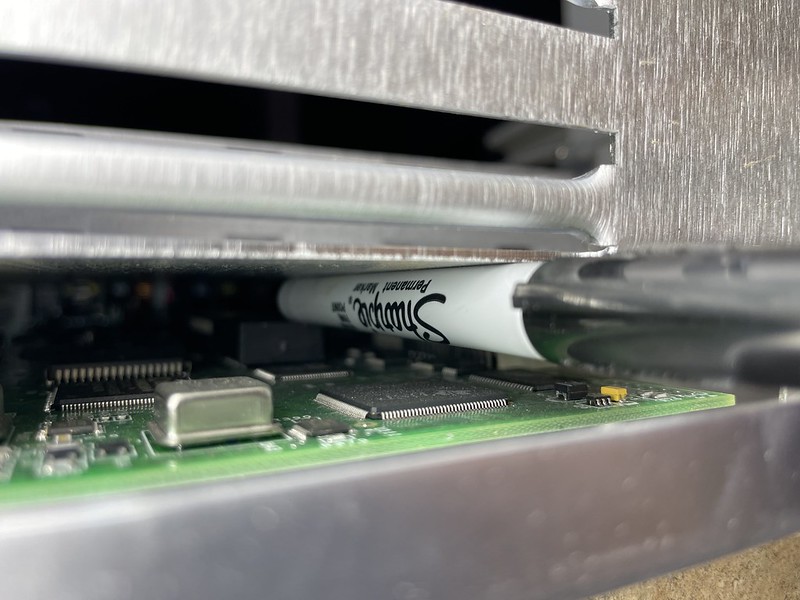
Clearance between top of RTC chip and chassis
Of note when trying to take the motherboard out, over to the side of the power input part of the board, there’s a metal rail along the edge of the chassis that have these heatsink clips that clip over several voltage regulators. These just slip off.
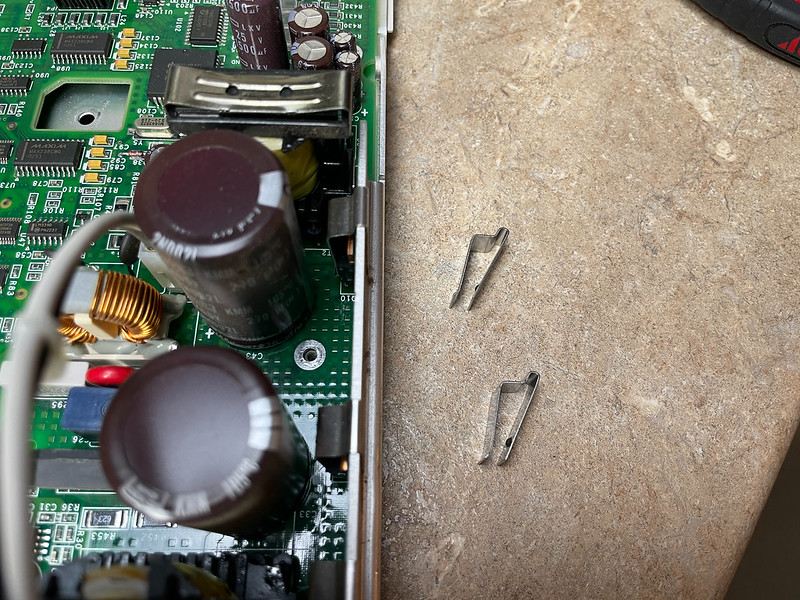
Heatsink clips
Also remember to remove the DC terminal block if they’re plugged in:
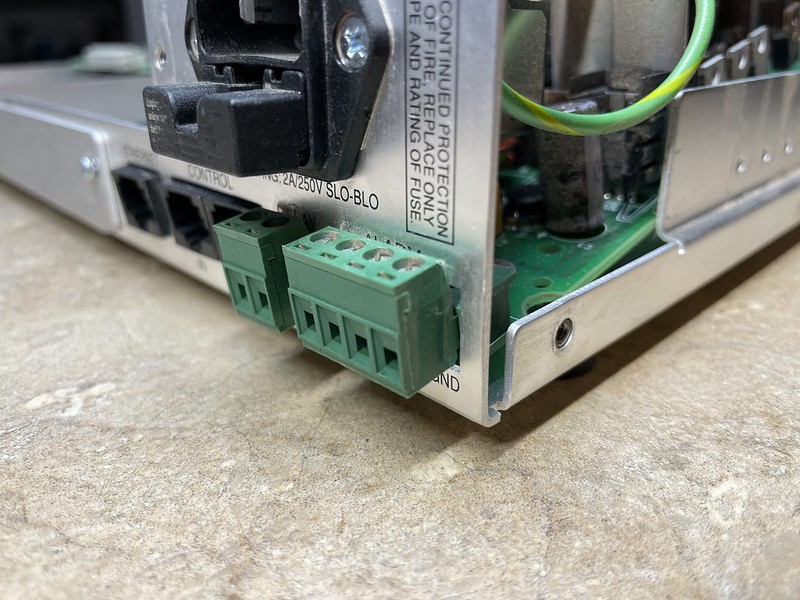
Terminal block holding motherboard in
After this there’s just a set of screws holding the motherboard to the case. Also be aware of the large capacitors when taking the board out, to make sure not to accidentally grab one or short it on the chassis.
This one was mostly easy to get the old Dallas chip out, I recall just one or two pins being stubborn because they were on a ground plane.
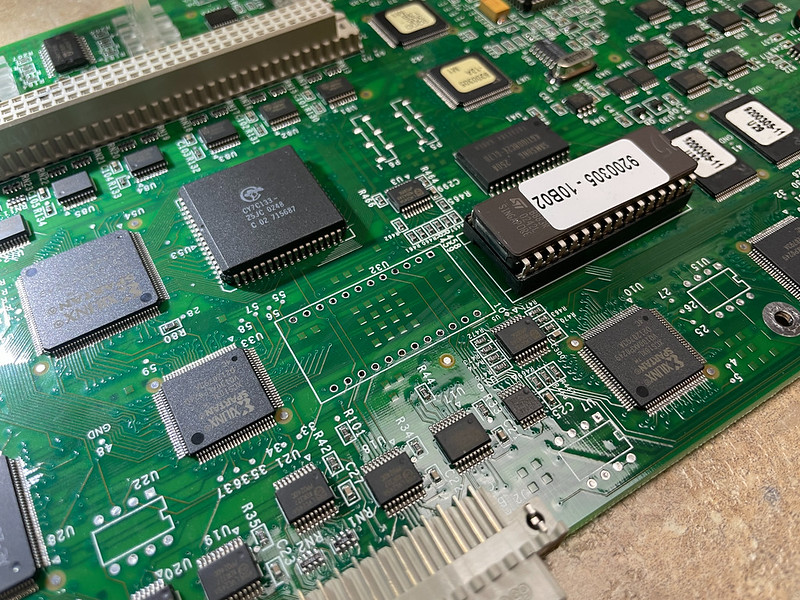
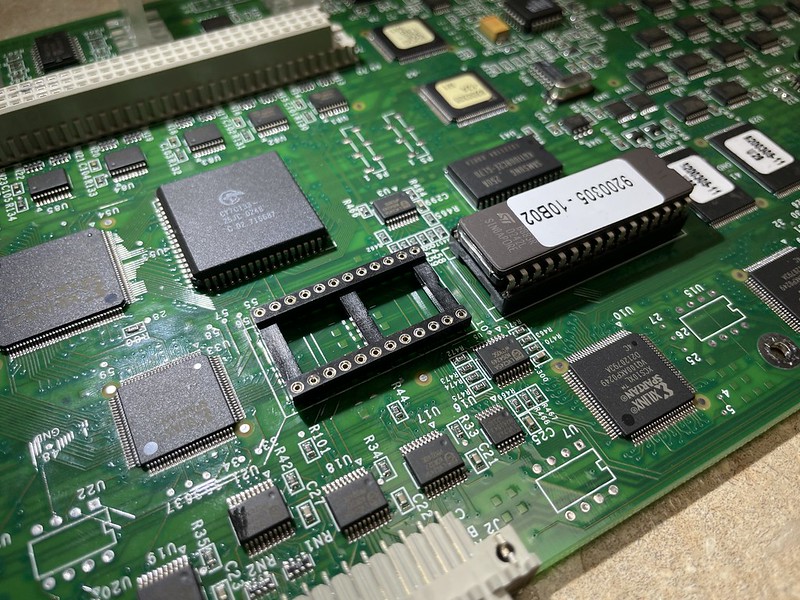
Removed old Dallas DS14287
Next was putting in a 24-pin socket:
And then finally putting in the new Dallas DS14287 chip:
Socketed Dallas DS14287 replacement
After putting everything back together, the unit just powered right up without any issue. It retained my config after a few power-offs and seems to work well.