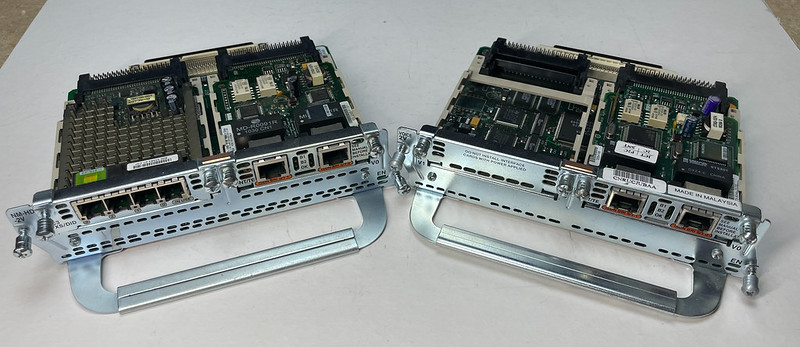
Cisco VIC-2BRI-NT/TE and VIC2-2BRI-NT/TE nested inside carriers
TL;DR: I complain about my failings and show off pictures and log files. Later some gradual understanding of ISDN and why this probably won’t work with my particular version of the Courier I-modem with a U interface. Turns out U is electronically incompatible with S/T.
In my telcom fiddlings to get a 56k dial-up modem to work I explored an Adtran Atlas 550 as an ISDN switch along with a USR Courier I-modem, which worked great. The original project however is still stalled out, and that is using a Cisco router with a VIC-2BRI-NT/TE or VIC2-2BRI-NT/TE card and “isdn protocol-emulate network” to provide network-side BRI service to the Courier I-modem as a cheaper alternative to an Atlas or other ISDN hardware.
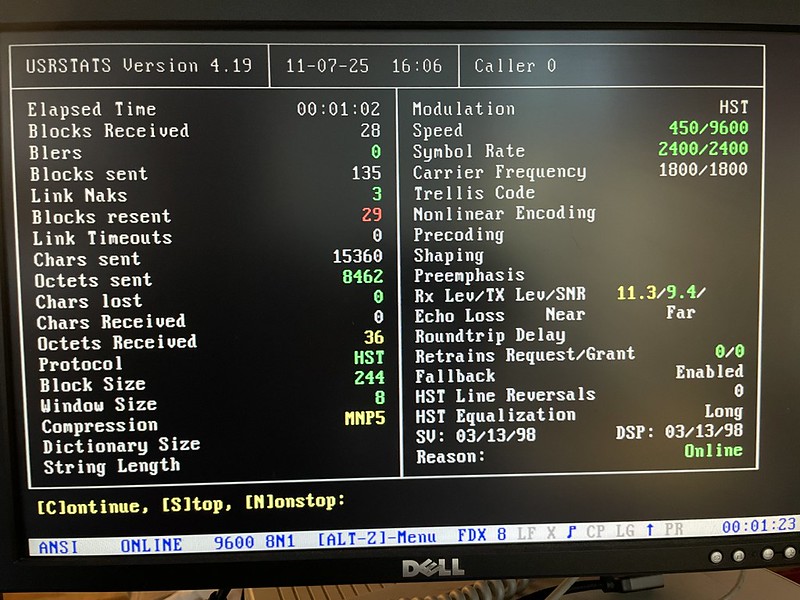
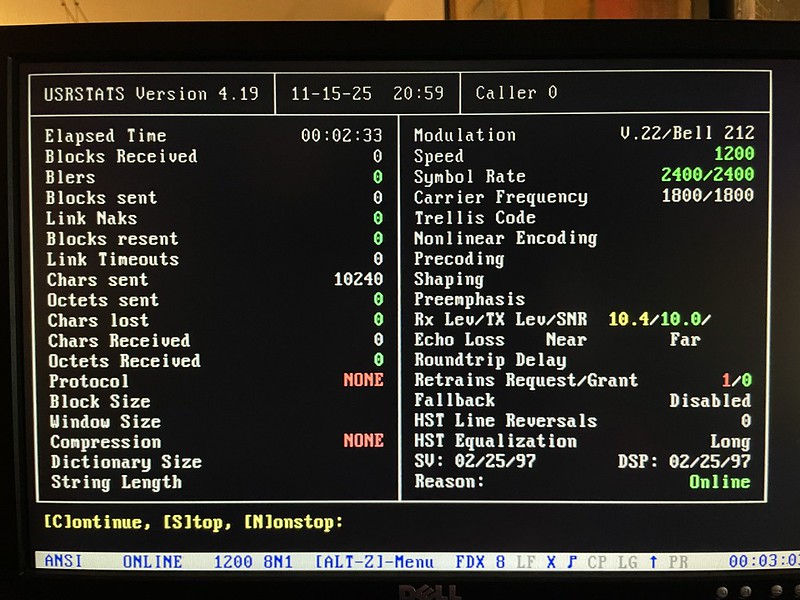
The Atlas configuration at least validated the I-modem actually worked and would terminate a V.90 56k dial-up call.
Also I am barely literate in ISDN, I only have a scant understanding of U, NT, TE, NT1, S/T. I need a flowchart, I could be trying to put square pegs in round holes.
According to this Cisco TechNote “Configuring Network Side ISDN BRI Voice Interface Cards“, the VIC-2BRI card comes a NT version that sounds like it should act as a network interface. I wanted to see if I could bring up a BRI between a Cisco 26xx and the I-modem, configure a voice-peer, and send a “voice” (dial-up modem) call over it from a VoIP endpoint. I don’t know if this is really possible, but that hasn’t stopped me from trying. I have seen other people mention this configuration but I don’t think I’ve seen any that have succeeded, or if they have they are short on the details.
The problem first of all was finding one of the damn VIC BRI cards that supported network mode. These seem to have been only used in Europe and were released in the 2000s. When I was looking last year the only places on eBay I could find selling them for a decent price were in the UK, Turkey, and Greece, so they took weeks to arrive. There are many VIC-2BRI-S/T cards out there, but they’re not what we want.
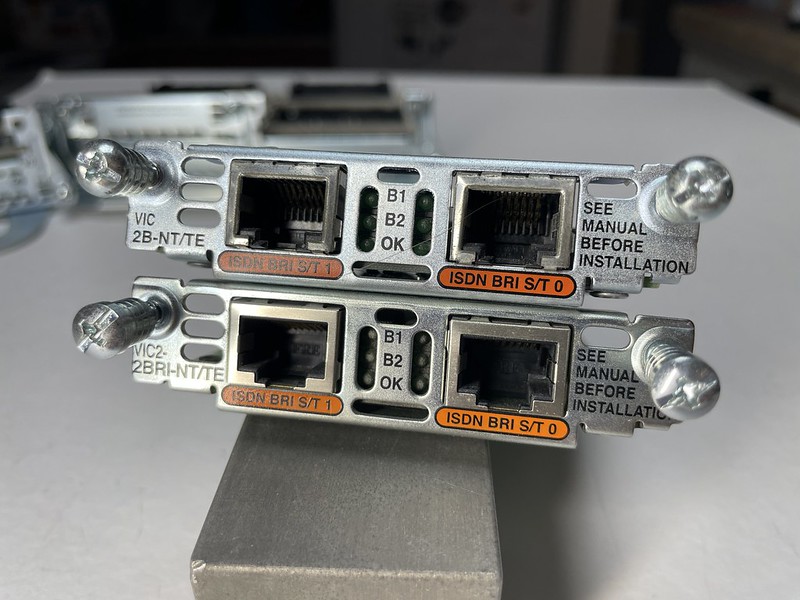
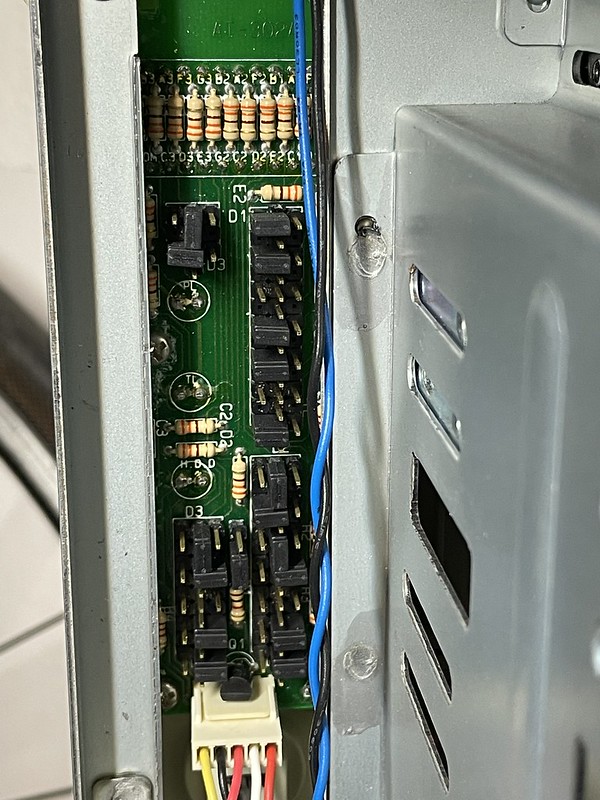
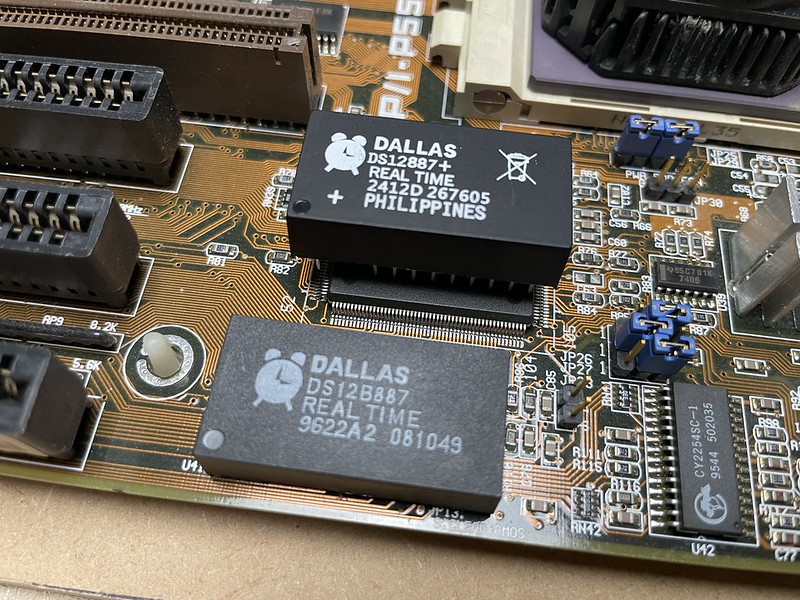
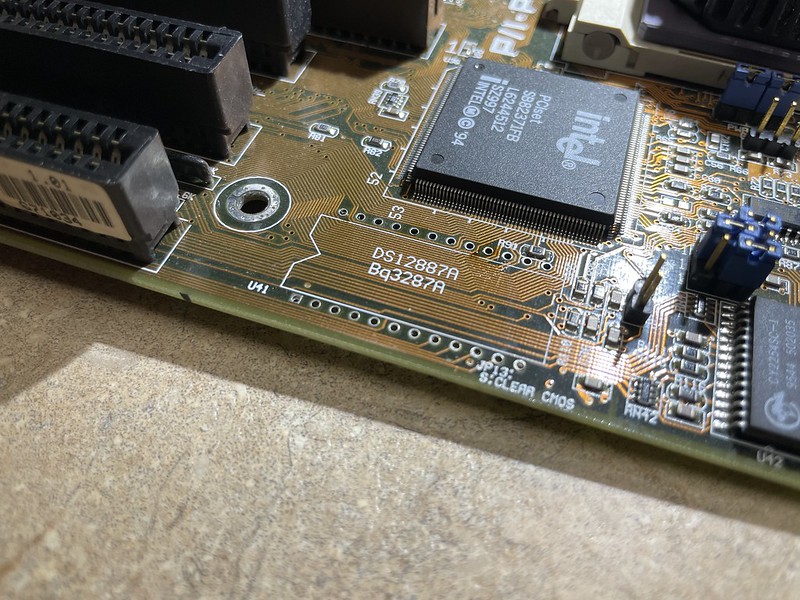
VIC-2BRI-NT/TE and VIC2-2BRI-NT/TE – how could they possibly be confused, also the S/T markings
There is also the confusing product numbers: “VIC-2BRI-NT/TE” and the newer “VIC2-2BRI-NT/TE”. This is important because each one has different requirements for the NM voice carriers, which in turn affects which Cisco router chassis it works in. It doesn’t help that some people transpose the 2 as a non-existent “VIC2-BRI” instead of “VIC-2BRI” which further confused the parts search. I’m pretty sure I did this myself a few times.
I mis-read the support docs no less than three times thinking I had ordered everything for a configuration to test out in an old Cisco 2600 I had (used for my ISP!), and realized I got an VIC2 that only worked in a 2600XM. Then I thought I bought a NM that worked in a 2600XM and it only worked in a regular 2600. Then after careful searching on eBay I thought I was buying a VIC2-2BRI, the photograph very clearly showed a VIC2, and a old VIC-2BRI showed up weeks later!
The VIC2-2BRI-NT/TE is supported on NM-HD-1V, NM-HD-2V, and NM-HD-2VE, where as the VIC-2BRI-S/T-TE and VIC-2BRI-NT/TE are currently supported on NM-1V/2V.
Months later after ordering all the right parts finally, I wound up with two full hardware configurations: a Cisco 2600 + NM-2V + VIC-2BRI-NT, and a Cisco 2600XM + NM-HD-2V + VIC2-2BRI-NT/TE.
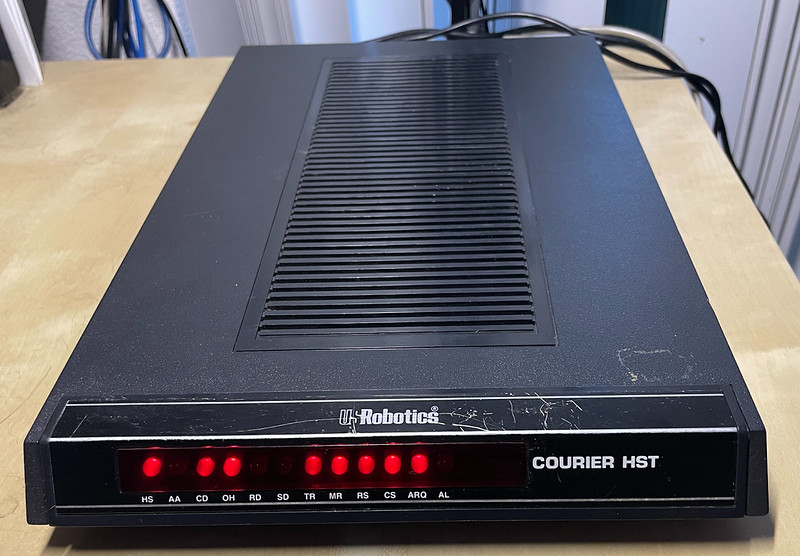
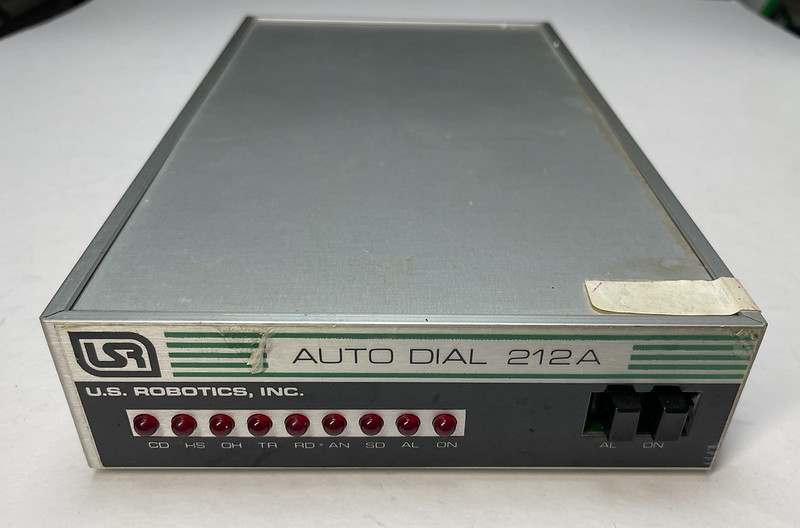
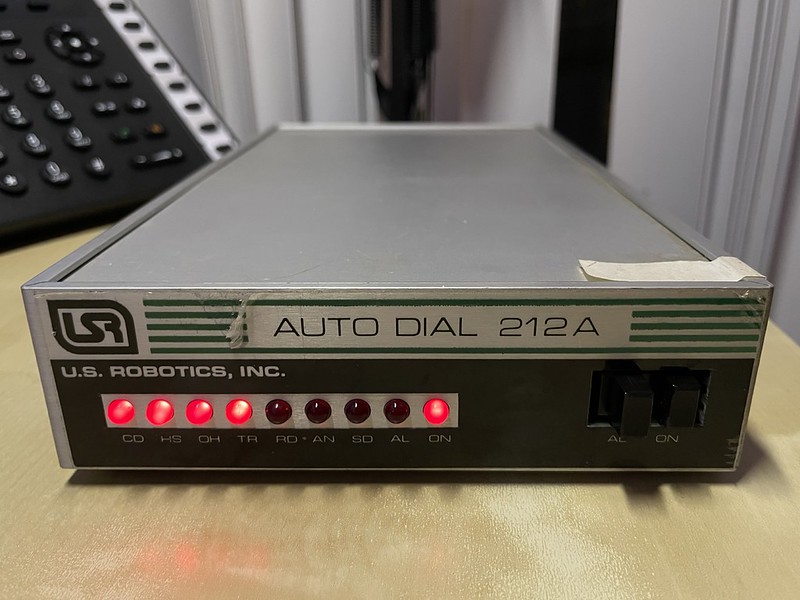
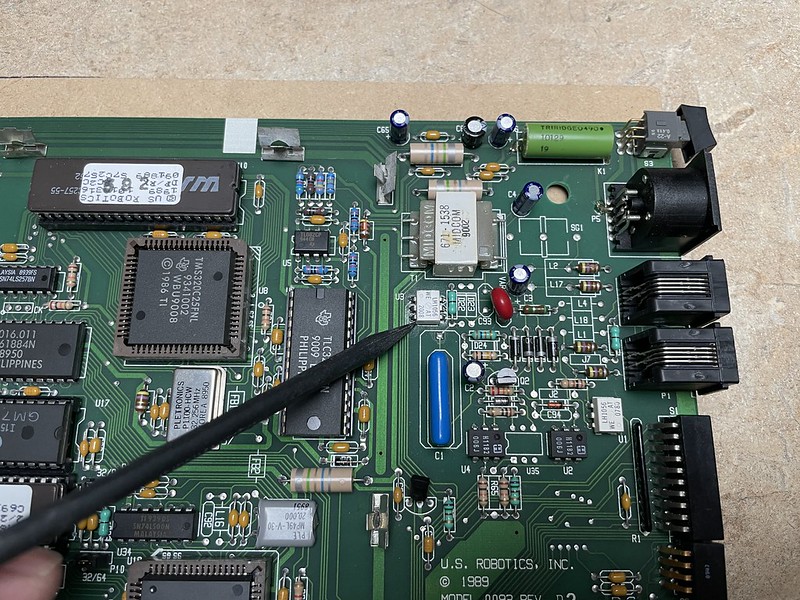
Courier I-modem configuration
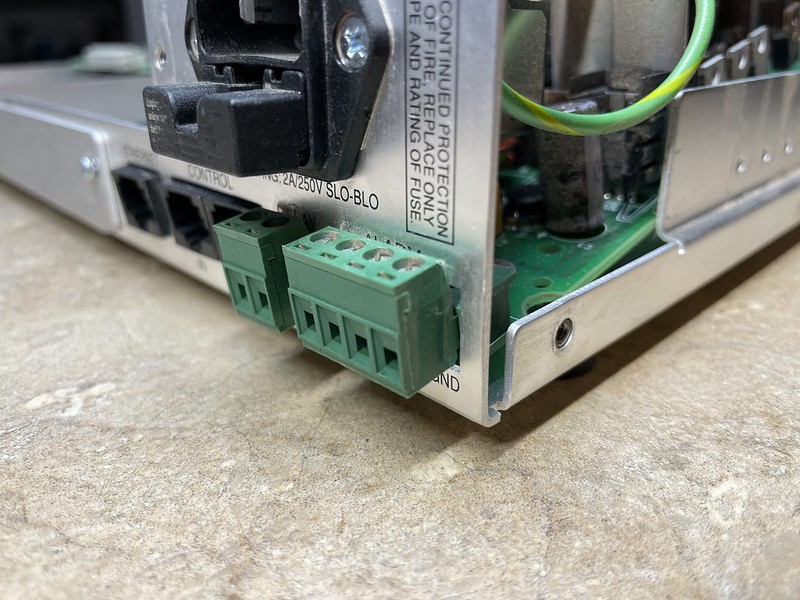
The back of the I-modem has a port labeled “U”, which according to the manual has an integrated NT-1.
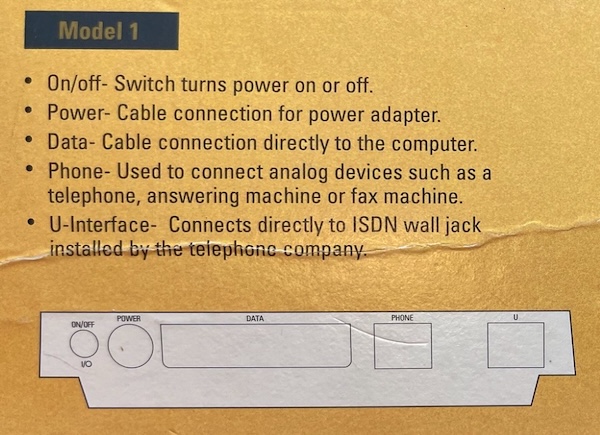
Model 1 – U-Interface
Cisco 2600 XM configuration
In my latest test, this is what I had configured on the 2600XM for the VIC2-2BRI-NT/TE:
!
interface BRI1/0
 no ip address
 isdn switch-type basic-ni
 isdn timer T309 30000
 isdn protocol-emulate network
 isdn point-to-point-setup
 isdn layer1-emulate network
 isdn incoming-voice voice
 isdn supp-service name calling
 isdn skipsend-idverify
 line-power
!
I had to use National ISDN type for the emulation. The 2BRI cards only supports certain ISDN switch types in network-emulate mode:
vintage-gw5(config-if)#isdn switch-type ?
  basic-1tr6    1TR6 switch type for Germany
  basic-5ess    Lucent 5ESS switch type for the U.S.
  basic-dms100  Northern Telecom DMS-100 switch type for the U.S.
  basic-net3    NET3 switch type for UK, Europe, Asia and Australia
  basic-ni      National ISDN switch type for the U.S.
  basic-qsig    QSIG switch type
  basic-ts013   TS013 switch type for Australia (obsolete)
  ntt           NTT switch type for Japan
  vn3           VN3 and VN4 switch types for France
The Cisco is lies when it says it supports 5ESS and DMS100 emulation:
vintage-gw5(config-if)#isdn switch-type basic-5ess
Interface must be shutdown before configuring switchtype
vintage-gw5(config-if)#shut

vintage-gw5(config-if)#isdn switch-type basic-5ess
%ISDN 8, Network side supported only for primary-5ess, primary-4ess, primary-dms100, primary-net5, primary-ni, primary-qsig, basic-net3, basic-qsig, primary-ntt.
protocol-emulate network should be removed

vintage-gw5(config-if)#isdn switch-type basic-dms100
%ISDN 8, Network side supported only for primary-5ess, primary-4ess, primary-dms100, primary-net5, primary-ni, primary-qsig, basic-net3, basic-qsig, primary-ntt.
protocol-emulate network should be removed
vintage-gw5(config-if)#isdn switch-type basic-ni
vintage-gw5(config-if)#
vintage-gw5(config-if)#isdn switch-type primary-5ess
                                        ^
% Invalid input detected at '^' marker.

vintage-gw5(config-if)#isdn switch-type primary-dms100
                                        ^
% Invalid input detected at '^' marker.

vintage-gw5(config-if)#
and the Courier I-modem only supports these switch types:
*W=n      ISDN Switch Protocol Type
            n=0 AT&T 5ESS Custom
            n=1 Northern Telecom DMS-100
            n=2 US National ISDN-1
            n=3 US National ISDN-2
Leaving me with only National to even attempt.
My understanding from the “Configuring Network Side ISDN” document was that I would need to wire up a BRI crossover cable to run between the Cisco 2600 and the I-modem. When I did that, I got no sort of response from the Cisco nor the I-modem. However when I wired up just a plain straight-through cable, I could see all sorts of activity on “debug isdn events” whenever I rebooted the I-modem or issued an ATZ! to soft reset it. The I-modem shows the physical link as “Inactive”.
The debug log on the Cisco would say this:
May 16 17:39:39.398: ISDN BR1/0 EVENT: service_queue_from_physical_layer: Recvd L1 prim ISDN_PH_ACT_IND state is IF_DOWN
May 16 17:39:39.398: ISDN BR1/0 EVENT: isdn_sw_cstate: State = 4, Old State = 0
May 16 17:39:39.450: %LINK-3-UPDOWN: Interface BRI1/0, changed state to up
May 16 17:39:40.836: BRI1/0: !!!CHECK CLOCK SOURCE!!! and the interface is disabled due to Lost framing count of 41 in the past 12 msec.
May 16 17:39:40.844: ISDN BR1/0 EVENT: service_queue_from_physical_layer: Recvd L1 prim ISDN_PH_DEACT_IND state is IF_ACTIVE
May 16 17:39:40.844: ISDN BR1/0 EVENT: isdn_sw_cstate: State = 0, Old State = 4
May 16 17:39:40.848: ISDN BR1/0 Q931: L3_ShutDown: Shutting down ISDN Layer 3
May 16 17:39:40.896: %LINK-3-UPDOWN: Interface BRI1/0, changed state to down
which sounds like I need to provide clock from the Cisco side, but there doesn’t seem to be a way to enable it:
vintage-gw5(config)#network-clock-select ?
  <1-2>  priority

vintage-gw5(config)#
vintage-gw5(config)#network-clock-participate wic 0
 WIC slot is empty or does not support clock participate
vintage-gw5(config)#
This is as far as I’ve got. I haven’t messed with it anymore, I don’t know if I need to re-visit a BRI crossover cable, go dust off the 2600 with the older VIC-2BRI card and play with it, or if there’s other config options I’m missing. Or do I need an S/T I-modem, which I’ve never ever seen?
Or the Cisco VIC provides an NT the same as the I-modem provides an NT, so this means I’m trying to connect two NT back to back, and still need something to provide a U.
Of particular note I’m running a 12.4 ADVENTERPRISE image on the 2600XM for some X.25 work, which is way newer than the 12.2(15)ZJ and 12.3(4)T listed in Platform Support matrix in “Understanding ISDN BRI Voice Interface Cards“. The fact my VICs still show up in “show diag” and can still be configured leads me to believe there’s still support for the cards in 12.4, but who knows if Cisco only supports exactly 12.3(4)T.
GPT 4o gave me some dubious hallucinated commands on the I-modem that didn’t exist, and suggested removing “network-emulate” from the Cisco which kind of defeats the whole point. It also suggested the VIC provides clocking internally and there isn’t an option to enable/disable it, which might be true.
12 AM later:
If I’m understanding things correctly:
The I-modem has an integrated NT-1 and it expects to be using a U interface to an LT at a telco CO. It finally dawned on me to think of the “U” to really mean “U cable” instead of something at the CO acting as a “U interface”. This U cable speaks 2B1Q.
I-modem -> U (2B1Q coding) -> Line Termination (LT)
The Cisco VIC[2]-2BRI-NT/TE can also act as an NT and thus also expects to be using a U interface to connect to an LT.
Cisco NT mode -> U -> LT
The “U-interface” is an RJ-45/8P8C connector, but only pins 4-5 in the center carry a signal and polarity doesn’t matter, thus a crossover does nothing here. And in fact if trying to use an BRI S crossover cable, the two pins of the U are definitely not connected to anything. The U can provide -48 VDC power on pins 7 and 8.
I was getting confused when I kept seeing things say “U is two wire/conductor” when my I-modem very much has a RJ-45 out the back and came with an 8 conductor cable.
“S” is also a RJ-45/8p8c connector, but it actually has TX/RX pairs. Here a BRI crossover cable can be used to connect two somethings together.
Thing -> S (AMI coding / I.430) -> NT1 -> U (2B1Q coding) -> LT
The Adtran Atlas 550 Quad BRI card I have in my understanding of the data sheet is operating in LT mode, which lets things expecting U interfaces, such as the I-modem to connect to it.
In conclusion it sounds like my Courier I-modem that wants a U interface won’t work with the VIC. However, if I had a European model that uses S/T it might? Or if I had something to replace the Cisco that would emulate a LT interface.
Documentation followed
Tags: isdn, modem


